Scrivener Tips Pt. 2: Compiling
Compiling Conundrums
I’ve recently begun preparations for sending the manuscript of The Bow of Destiny to my editor. The manuscript needed compiling which I had never done for a book. I had compiled for a short story so that was rather easy. For a book there were a few more details required than I had previously experienced.
Manuscript Expectations
I wasn’t concerned with the format of my manuscript since it was consistent. However, I did want chapters without titles and a header. My first attempt did not work as I expected. The folder names became chapter titles and labeled scenes appeared in the text. This is likely because I originally used a general template rather than one specific to a novel. But no biggie, I started poking around and found settings in the compiler to help me get the manuscript to the appearance I wanted.
Custom Compiling
First, click on File and then Compile to open the Compiler:
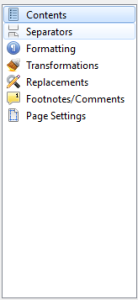 Note all the different categories on the left menu. Click on Contents and verify that everything for your manuscript is selected. You can use these to change settings in the compiler. When you start making changes it will change the “Format As:” to Custom.
For my purposes, the necessary changes were made by first clicking on Formatting and turning off all the check marks for title. This removed folder titles being used as chapter names so that only the chapter numbers remain.
To change the layout of a section click on a level to highlight it and then on the Selection Layout button.
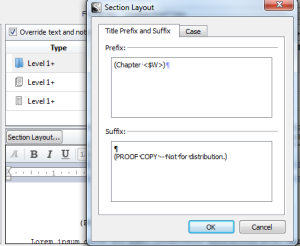 Here you can edit the beginning layout of a section. In my case I removed any text I didn’t want and added a few details.
Next I wanted to change my header. To do this click on Page Settings from the left menu of the Compiler and then type in or change the header settings. My screen shot above also shows an example. Not that “Not on Page 1” is not checked by default. I checked that and made sure that page one was counter by checking the second box.
Saving and Presets
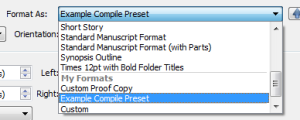
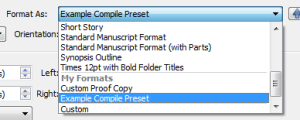 To save these custom settings click Save and Close on the lower right. When you re-open the Compiler and choose Custom from the menu these will remain. However, you can also save your custom presets by clicking Save Presets in the lower left.
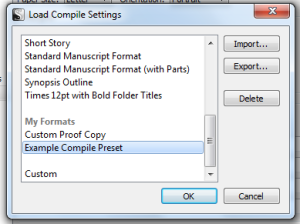
Once you’ve saved a preset you can load it by clicking on the Load Preset button in the lower left and scrolling down the list of standard presets to My Presets and choosing the one you want based on your needs.
I hope this helps when you compile a manuscript. There are many other settings so take time to learn those according to your project parameters. Please share your thoughts and ideas in the comments section. I’d also love to connect with you over social media so check my Contact page for that information. See the News page for announcements and remember to sign-up to receive news and posts by email. I’ve added a new sign-up tab on my FaceBook page to simplify the process. New followers can download The Black Bag via free coupon today! Also, the cover of my book, The Bow of Destiny, was revealed recently so take a look.
Follow Blog via Email
Enter your email address to follow this blog and receive notifications of new posts by email.
Filed under: Blogging, Cover Reveal, Creativity, Editing, Fiction, Goodreads, Indie Publishing, Planning, Scrivener, Self-publishing, Social Media, Tech Tips, The Black Bag, The Bow of Destiny, Tips, Twitter, Writing Tagged: blogging, Coverart, Editing, Facebook, Formatting, Indie Publishing, P. H. Solomon, Planning, Scrivener, Self-publishing, Social Media, The Black Bag, The Bow of Destiny, Tips, Twitter, writing


